My Blog List

Saturday, June 10, 2017

Early Rug Statement


Happy Saturday everyone!
It will be a Summery one here in our neck of the woods.
Temps reaching the high 80's.
Thunderstorms rolled in last evening 
as Bob and I were coming home from a nice 
Italian dinner out.
Lasagna and Ravioli was what we chose.
Salad and Foccacia bread as well.
It is a quaint small town restaurant that we love.

I finally had the chance to place this early rug up.


Early rugs were made out of necessity.
Cut from strips of old clothes that were no longer fit to wear.


Flower motifs and animals were all the rage back then.


I loved how the maker of this one chose to add 
an additional diamond motif in black wool all around.


There was also a homespun patch on the back.


There is some damage, but to me that just adds
to the character of it.


I can only imagine how many boots or feet touched
{walked} on this beauty.
Was it placed at a the foot of a bed?
Or at the entrance to a door? 


I thought of placing it inside the doorway of our bedroom.


But then I remembered I have kitties in our home.
They love to race around the house at times.
I would have to re-arrange the rug each day,
if I left it on the floor. LOL


I chose instead to hang it on the wall.


It goes well with the colors in our bedroom.


Our Americana bedroom.


Which got me to thinking.
I need to add some Americana in here soon.
Stay tuned.
My mind is whirling with ideas.
Sometimes that's a scary thing...for Bob anyway.
See he is the one who has to put up with my constant
re-arranging of things. ;-)

Do any of you have this problem?
Well they say if you stand still, you die.
So I chose to move forward....

Rug Statement Blessings To All!
Janice

Wednesday, June 7, 2017

Its A Wind Wheel


Happy Hump day everyone!
It's a nice day here today in Michigan.
Blue sky with little puffy clouds here and there.

I still have the crupie cough as gramma H would say.
Only when I talk...so it's good to be able to write down
my thoughts here.

Did you know that the pinwheel was invented back in 1919,
by a Bostonian man named Tegran Samour.
He called it the wind wheel.
Before he invented his version of the wind wheel,
 they were called whirligigs.
In fact his version is still what is sold today.


I remember as a child we were given these
in Memorial Day parades.
I loved blowing on them to make them twirl.


It was fitting to make some for my Americana tree.

If you would like to make some of these for yourself.
They are fairly easy to make.

Material List

2 pieces of fabric that compliment each other
Modge Podge
Old Paintbrush
Button
Embroidery Floss to match button color
Pipe Cleaner ( I used both white and red)
Hot Glue
Low Temp Hot Glue optional (button)

Cut your two fabric pieces into a 5 inch square.
Apply Modge Podge with paintbrush to the 
backside of one of your fabric pieces.
Then top with your other fabric piece.
Each piece should be facing right side up once glued.

Let dry overnight.
This will stiffen your fabric.


Draw diagonal lines on the one side of your fabric piece
lightly with a pencil.
Now you will need to cut your fabric like I have shown.
Drawn lines are your cutting lines.
(I used paper to show better)
Just cut like I have shown...if you cut all the way across,
it will not work.

Next with 3 strands of floss, tie a knot at one end.
Bring your needle up through the middle 
from back to front.
Now this is the tricky part.

Fold over the fabric from the right corner to the middle.
Pull needle through this corner.
Rotate your piece once and repeat step 3 more times.

Finally attach your button with the floss and
knot back through the back.

If you do not want to sew in this step,
you can hot glue the pieces to the middle,
and then hot glue your button on top.
{low temp glue for your button}

I prefer to sew mine.

Next hot glue the pipe cleaner to the backside.
You now have a finished wind wheel.


If you look carefully, I have some with the blue flipped up,
and then with the stripes flipped up.

I made three of each and they look wonderful on the tree!

My next project I had to ask assistance from Bob.
More to come and then I will show the entire tree.

Wind Wheel Blessings To All!
Janice


Sunday, June 4, 2017

June CupboardScape

Sunday Sunday
Here Again!

Are you having a wonderful weekend thus far?

I have been laying low trying to get better.
I had to stop talking so I would not get coughing spells.
It's easy to talk to you all.


This CupboardScape was an easy one. 
As a kid I loved Dandys!
D A N D E L I O N S


They were everywhere on the farm.
I would lay in a field of them and just
BLOW BLOW BLOW
the soft white whispers into the wind.


Causing the seeds to drift away to their new home.


I also have a tendency 
to purchase 2 gallon stoneware pieces.
Two is company for sure.


Twos are easier to move around.


Plus they fit better in my suitcase. 


Some gals love jewelry.........while I  love old love bowls,
wood, stoneware and dandys!


Something about putting these all together,
gives me the tingles.


This look is so simple.


Maybe that's why I like primitives.

What made you decorate 
in the primitive or farmhouse style?

Dandy Blessings To All!
Janice


Thursday, June 1, 2017

Simple Garden Joy

Well folks, hope your week is going good for you all.
I managed to get a spring cold on Monday,
that has knocked me in the butt so to speak.
Have to go to work because am now covering for
someone who just retired, plus do my own job.
No therapy this week as just going to work
 is an effort in itself.
Bob has either made dinner for us or he had one of his 
many chefs cook for us
{meaning we went out for dinner}
Once done with dinner, my butt goes to bed,
and I start all over again at 6am.


Still not up to par, 
but wanted to show you my front garden
that I finished weeding on Sunday before the storms came in.


The planters on each side came from an early home.
These were the cement columns for the porch. 
I will need to find new pillows for the bench...as my other ones were blown away in a wind storm I was not expecting.


My garden is in its Spring glory.
Once again our bird friends are enjoying their
splash pad. {bird bath}
The red twig dogwood on the left is bursting into
its cream and green splendor.


The wiegelas are blooming their coats of pink.


The yarrow is budding out.
Soon it will show off its yellow flowers.


The bird's nest spruce is really green this time of the year.

Hope you enjoyed some color today.
I also hope to feeling better soon, so I can finish my 
latest Americana tree.

Well off to eat some spaghetti that Bob cooked for me.
Then off to bed again.

Simple Garden Joy Blessings To All!
Janice


Sunday, May 28, 2017

May CupboardScape


Happy Memorial weekend to all of you.
Hope you are doing what you enjoy!
I spent yesterday cleaning, doing laundry...
and then it hit me.
After going back and forth from my suitcase display,
I realized I did not do one for May yet.
Gosh, Geez Oh My I declared.

So here it is.
Dedicated to gramma H.


May was the time gramma brought out her
ringer washer and did laundry outside until Fall.
Once she let me try it..and I almost got my arm caught in it.
Gramma also loved her lilacs.
To this day, I have never seen a grove of purple lilacs
like she did on the farm.


It was also the time she would haul out her tick pillows
and throw rugs & beat them to death with her rug beater. LOL


She would bring out her clothespins in a dress like this one.
(this one used to be my moms)
Together we would hang the clothes on the line,
and I would make sure gramma never ran out of clothespins.


Although she did not use a wood mangle like this one,
she always wore her bonnet so as not to get too much sun.


I loved doing laundry with her in May,
because the lilacs smelled so good.
Plus the scent reached the clothes, so this time of year,
the farmhouse smelled of lilacs...especially the sheets.
It was like getting scented dryer sheets for free.


It was a time where a gramma and granddaughter,
spent time together doing a chore 
that at the time seemed fun.

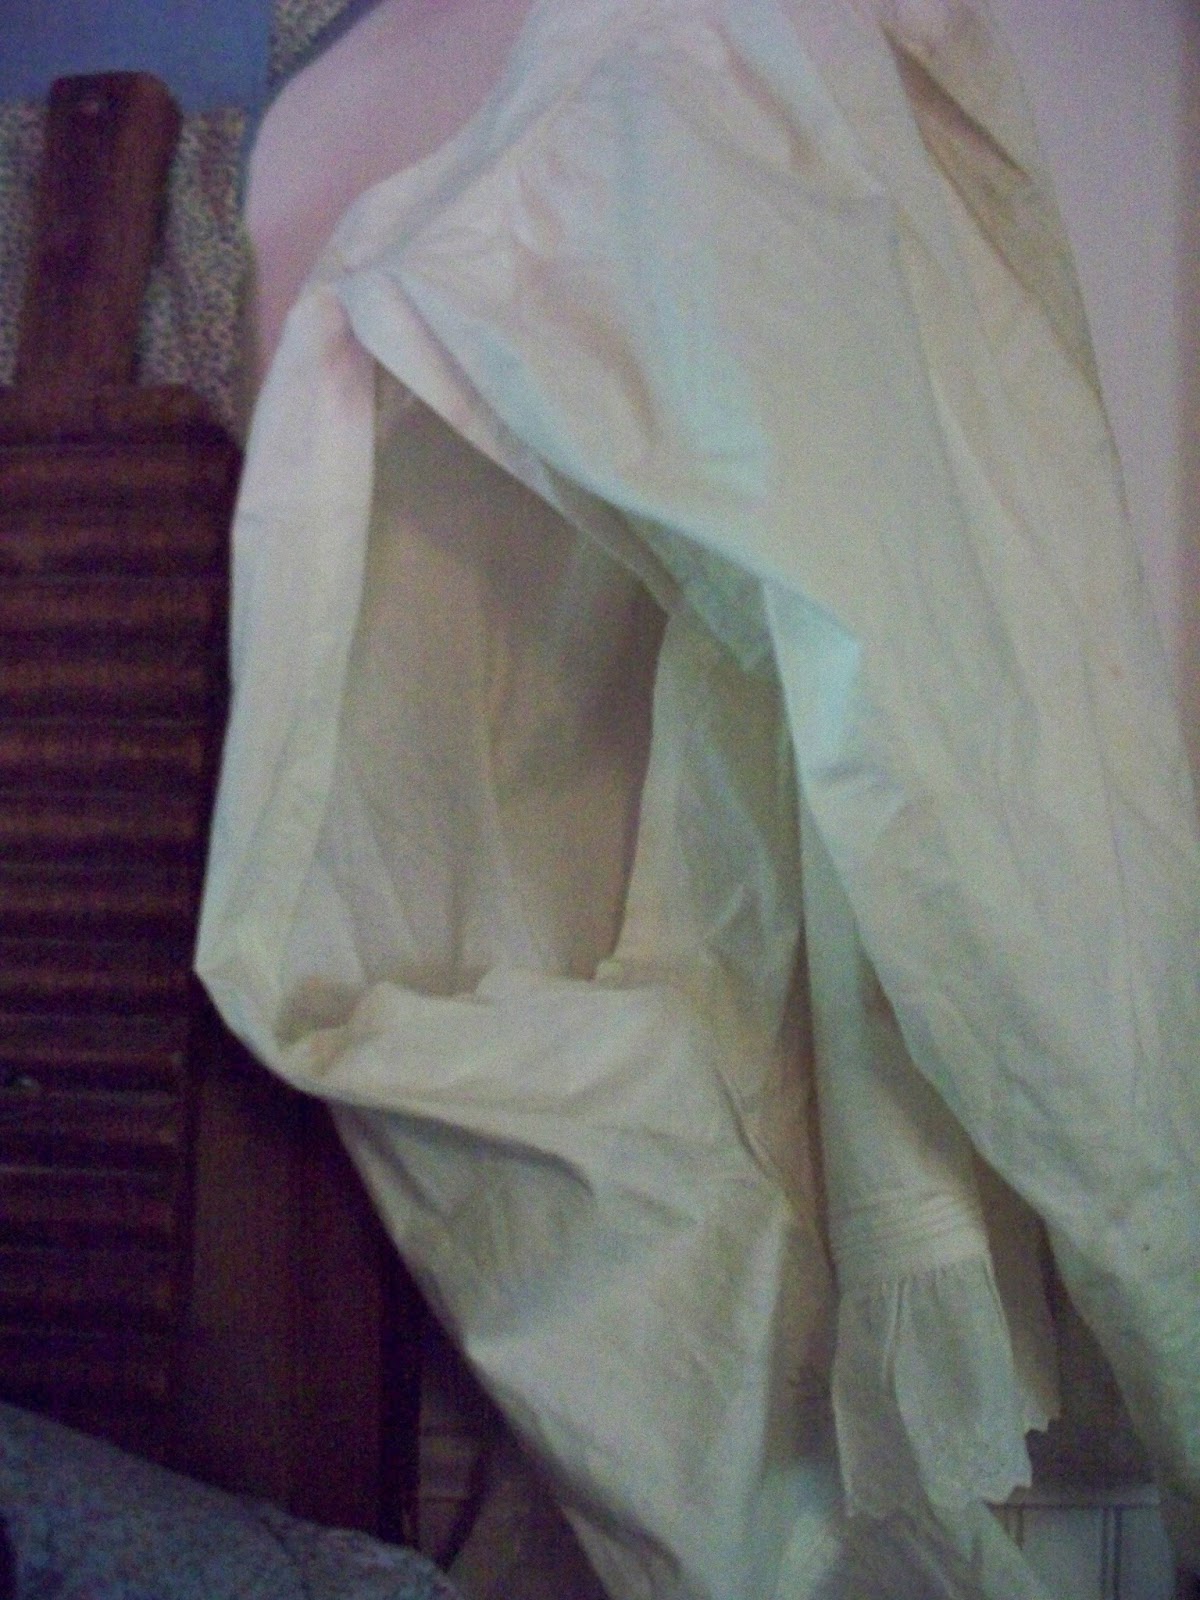
The bloomers on the right are early ones.
The crotch is open, so that ladies of the day would be able
to pick up their dress or skirt and do their business.


Here is the opening.

Well of to enjoy the sunshine and finish
 weeding my front garden before the storms come in.

Scented Lilac Blessings To All!
Janice


Thursday, May 25, 2017

Americana Star Tutorial


Can you believe May is almost over?
Yeah I know right...where has this year gone?
June is next week.
It warms my heart that you liked my last tutorial.
It's been long overdo since my last one.

Well as promised here is my next one.
I am creating these for my next
Americana Summertime Christmas tree.
It all starts with these glass beads.


I decided to create some Americana Stars.

Material List

Czech Glass Beads in White, Royal, Turquoise & Red
Blue Wool 
 Embroidery Floss to match the wool
Tan Fabric that looks similar to cookie dough
Embroidery Floss to match your fabric
Stuffing (I like Morning Glory Brand)
Needle


Today my tutorial is to make these yummy
 Americana Star Cookies.


To start I went to Google and searched for an
image of a primitive star.
I printed out the free primitive star image twice.
One star I cut out immediately.
{white star}
For the second star I drew a line a half inch
 larger around the entire image. 
{to show the difference in stars, I placed the first star
on top of my second one which was already cut from fabric}

Using blue wool, cut out smaller star pattern.
With your tan fabric, cut two stars from your larger pattern.
Trace once onto tan fabric and then flip
 the pattern & trace again.
{If you do not do this,
 your pieces will not match to sew together} 


Using 2 strands of Embroidery floss that matches your wool,
add the glass beads randomly all over the blue wool star.
Start by double knotting the end of your floss.
To begin bring your needle up from the back,
to the front of the star, add a bead and bring needle back 
through to the back of the star. 
Continue doing this until you have 
completely covered the star with beads.

Next cut a slit in the middle of one of  the tan fabric stars.
Place fabric with right sides together. 
Using 2 strands of matching tan floss,
 stitch the 2 star pieces together. 
{I sewed these by hand}
Once sewn, turn star inside out and lightly stuff.
Close up your star with a straight stitch,
using 2 strands of the tan floss.

Now place your blue star on top of the tan one,
and using 2 strands of blue floss, straight stitch
all around the star.


Now you are ready to hang on your Summertime tree.
I just tucked mine on a branch.
These would also make great bowl fillers!

You can also use white wool instead of blue
for a totally different look.

Hope you enjoy this tutorial as much as the last one.

This weekend I am going to finish this tree and then
show you the entire set up.
You can see that I already added some
 RED ~ WHITE ~ BLUE
ribbon

Hope everyone enjoys their Holiday weekend.
Remember those who lost their lives 
so that we could be free.

Americana Star Blessings To All!
Janice 


Tuesday, May 23, 2017

Americana Bunting Tutorial


A great evening to all!

The last two evenings after work have been
spent at the store getting ready for
S U M M E R T I ME
Will have to share photos soon of our window display.

Tonight I would like to share my prim
Americana Bunting.


I created these 3 prim buntings using muslin.
For those who would like to make some for yourself,
this is how I did them.
Materials list at end of post.

For each banner
Cut 6 strips of muslin into 12 x 1 and 3/4" strips.
Using an old coffee cup, heat 1 cup of water
in your microwave for 1 minute.
Add 5 heaping TBS of instant coffee and then
add some cinnamon...enough shakes to make it smell nice.
Let sit for a minute to rest the cinnamon.


Using an old cookie sheet pan, line with wax paper.
Next grab yourself 2 more old mugs or throwaway Solo cups.
Add your coffee mixture to each of the cups.
Now add your paint.
I just squeezed the colors into each cup until
 I liked the color of each.
Stir up the coffee/ paint mixture with an old paintbrush.
Now add 2 strips to each cup until covered.
(wear rubber gloves if you do not want painted hands)
I like to get paint on mine. LOL
Take the strips out and squeeze until a bit dry.
(If the color is too dark, rinse under cold water)
(If too light, add more paint, mix and re-do strips.


Place the dyed strips onto your cookie sheet,
keeping the colors separate from each other.
Since I did 3 banners, I did each color separately,
changing the wax paper after each color.

*** remember these instructions are for 1 banner***
{ I made 3 banners all at once }

Bake for 10 minutes @ 225  degree oven.
Baking time may differ depending on your oven.
Just keep baking until dry.
(if you prefer to air dry, then it will take overnight)


Next make yourself another cup of coffee with cinnamon.
Once your strips are dry,
 add both the red and then the blue to this mixture
and squeeze out excess. 
This time add your remaining 2 muslin strips as well.
This will be your prim white colored one.
Again either bake or air dry.

Now for the assembly.
Attach each strip to twine using the Macrame
Lark's Head Knot.
If you Google this you will see how it is done.

For each banner add 2 red, 2 white and 2 blue.
Once you have the amount of banners 
you want tied to your twine,
turn entire strand over on a flat surface.
(table would be fine)
Gather together each banner & using 6 strands of floss,
tie a knot 2 inches up from the bottom.
This is why you turned the strand over...
so you cannot see the knot.
Now you are ready to hang your banner(s)!

Material List

Muslin
Craft blue & red paint
(I used Craft Essentials Blue Velvet & Dark Red from JoAnn)
Instant coffee
Cinnamon (I used Dollar Store brand)
3 old coffee mugs or Solo cups
Paintbrush
Cookie Sheet Pan 
Wax Paper
Off White Embroidery Floss
Twine

Hope you were able to follow my tutorial 
and enjoyed my prim banner look.

Am working on my second Summertime tree,
and will have another tutorial on one of the items I am creating for this one.

Enjoy your evening.

 Americana Blessings To All!
Janice